Even when a homeowner does not want or need a working chimney, planning can dictate that you need to install a chimneystack to match other properties in the locality. Traditionally, chimneys were difficult and expensive to construct, but new technologies can help you comply with planning criteria whilst saving on labour and expense.
A prefabricated chimney, also known as a dummy, replica, false or reproduction chimney, can visually meet the planning requirements without the need for chimney breasts. Chimney breasts cut into a large amount of space in a room, which makes a prefabricated chimney the perfect choice for smaller builds. Of course, prefabricated chimneys can also be used as fully working units. They are usually suitable to vent class one and two appliances and include a Twinwall system that links to the existing system with necessary adaptors.
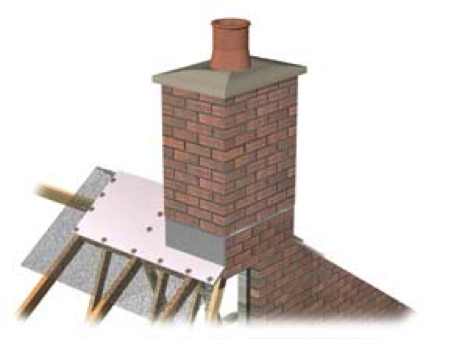
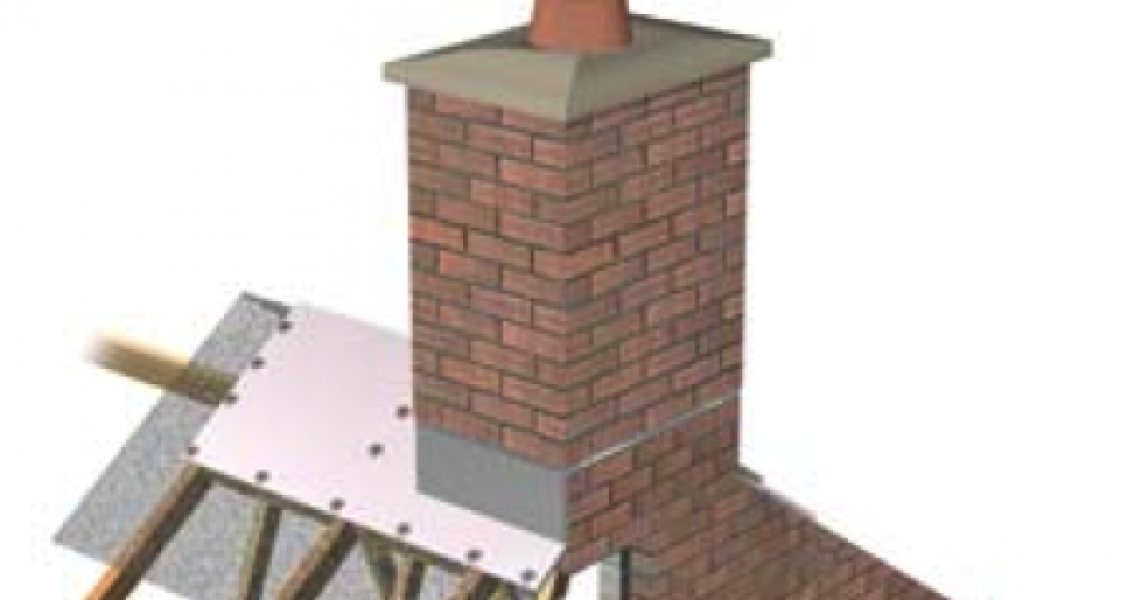
Prefabricated chimneys also save on labour costs. There's no need for bricklayers as they are craned, fully constructed, onto the roof. They can also be ordered with many decorative finishes and different types of stack construction including gable end ridge, mid ridge and mono pitch. There is a wide range of cladding available to suit specific requirements and traditional terracotta pots are often supplied with the chimney. You might choose to match or contrast your existing brickwork depending on what planning will allow.
The prefabricated chimney is constructed from a GRP (Glassfibre Reinforced Plastics) core and then clad in traditional facing materials of your choice, which makes them strong, rigid and lightweight. Although there is a standard range of design, bespoke chimneys can be created to closely match existing stacks and to accommodate unusual sizes, cappings, corbel details and pot designs.