How to install artificial grass

We all enjoy the look of a luscious green lawn but despite best efforts, nature can fight against you. Lawns can be laborious and tricky to maintain and more and more people are looking for quality alternatives to grass.


People want an outside space they can enjoy all year round but they don’t want to mow, water or feed it. It all points towards one thing – Artificial Grass.  


So, how do you make sure you get the right results? Artificial grass products have improved hugely and are used widely. Replacing your lawn with artificial grass is not only easy, it saves you time and effort on upkeep, is safe for children, suitable for pets and offers a natural look and feel. There are lots of different suppliers of great products. At Elliotts we like ‘Namgrass’ as it’s great value and offers a great finish.

Fitting an artificial lawn is simpler than you might think – just follow these steps on how to lay artificial grass. If you get stuck give us a call, pop in to a branch or we can offer a professional fitting service to ensure your grass is laid to the highest quality – its just another way we help you build.

Step 1 - Prepare the area

  1. Remove your old lawn using a shovel or a turf cutter.
  2. Edge the required area with timber, concrete, brick or metal edging systems such as EverEdge.
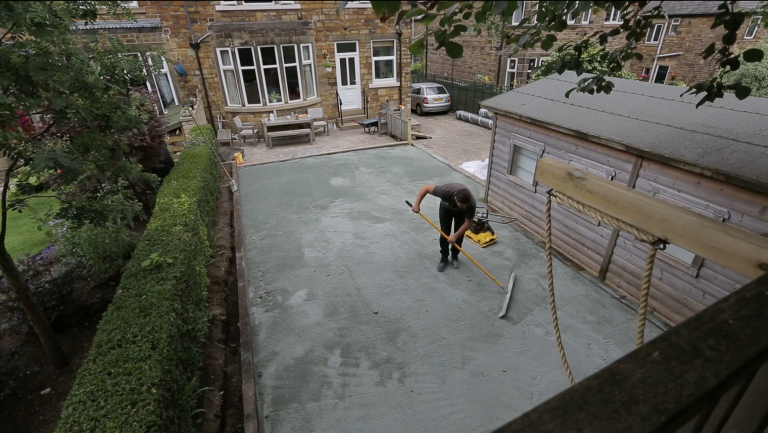
  3. Lay a base of fine aggregate with particles no bigger than 5mm. Rake and level before compacting. Continue to add aggregate and compact until your base is between 40-60mm deep. Form a slight camber to accommodate settlement over time.
  4. Spray with water to keep the dust down and help the base material bind.
  5. To prevent weeds coming through lay down a membrane over the entire area and pin it close to the edging.


Step 2 - Applying artificial grass

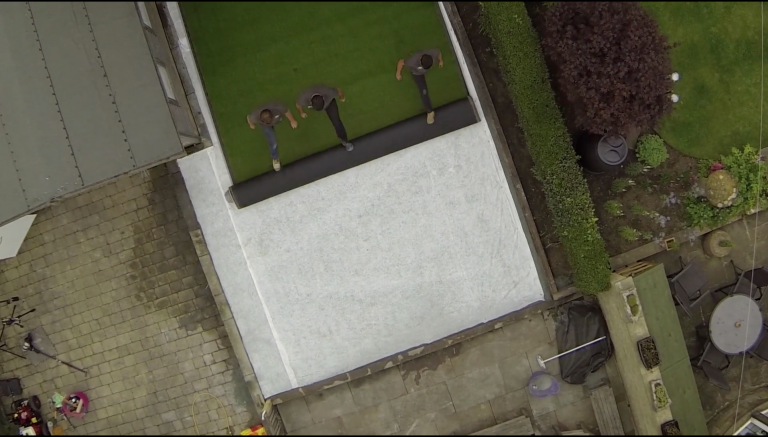
  1. Roll out the grass ensuring all sides overlap the area. If you have two or more pieces make sure they run the same way.
  2. Leave for at least an hour to acclimatise and settle.
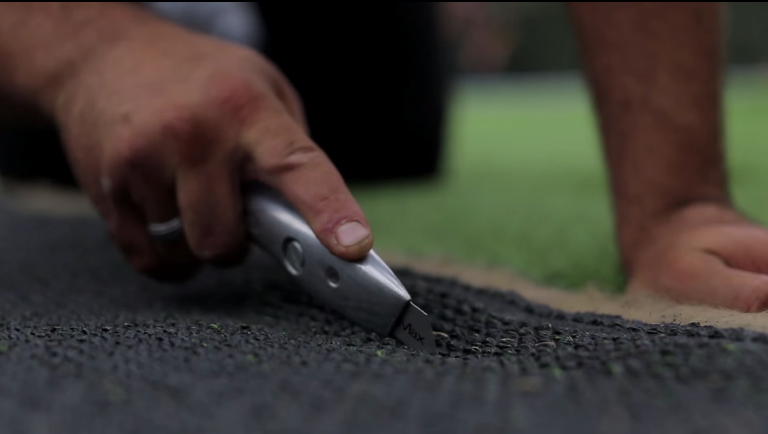
  3. If joining two or more pieces together fold back the edges to be joined and carefully cut between the third and fourth stitch lines, taking care not to cut the blades of grass. Remove excess strips.
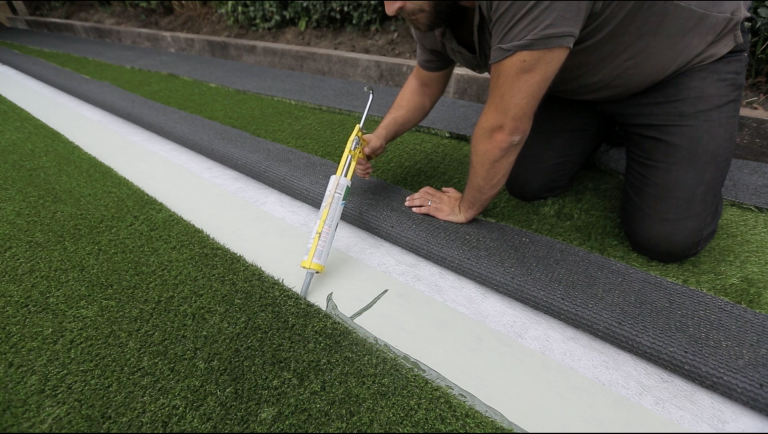
  4. Bring the two pieces together to test the joint. You're looking for a consistent 1-2mm gap between the pieces and an invisible seam when viewed from afar. When happy with the joint, fold it back and roll out the jointing tape shiny side down between the edges.
  5. Apply the adhesive along the length of the joint and carefully work your way along the joint, folding the grass back onto the tape.

Step 3 - Finish and enjoy

  1. Once all the grass is folded down, compress the joint by walking along it.
  2. Cut in to finish around the edge of your area. Take your time to ensure a tight fit along edges and obstacles.
  3. Allow 2 - 24 hours for the area to settle and glue to dry depending on weather conditions
  4. Apply an even layer of sand at a rate of 5kgs/m2 to stabilise and increase durability of the grass.  
  5. Brush up the grass to stimulate the pile and enable the sand to settle in.
  6. Enjoy your perfect lawn.